How to Connect ThingSpeak with ESP 32? Leave a comment
Nowadays, the world is highly interloper and dependence on other platforms to gather information and resources is a normal thing. The only difference between the ancient and this modern society is the technology which consists of web applications, software, digital data, and much more. In such a scenario, AIP i.e. Application Programming Interface allows two or more software to interact, share and exchange the data and digital information they have. ThingSpeak is an IoT which means the ‘Internet of Things”. It permits you to collect, analyse and visualise the data from other websites to use in your applications.
ESP 32 is an efficient microcontroller used in a wide variety of applications due to its desirable features and suitability. Now, let’s understand all three things, their functioning and how to connect ThingSpeak with ESP 32. So, are you ready to hop on this thrilling reveal?
What is ThingSpeak?
ThingSpeak is an IoT platform that helps you collect, analyse and create visuals for the data coming from other applications. In simple words, it receives the data and according to all the changes throughout, it makes graphs for you to understand the flow easily.
Imagine ThingSpeak as a digital book where you note the information taken from various departments such as weather forecasts, temperature, rainfall, etc. It analyses and creates the visuals (such as graphs, and charts) based on the data you put in.
But it can not work until it’s connected to the sensors or devices. So, how to overcome this problem? Here comes the ESP 32, the powerful microcontroller which works as the messenger. But how to connect ThingSpeak with ESP 32? We will discuss this further in detail once we introduce you to ESP 32. So, let’s go!
What is ESP 32?
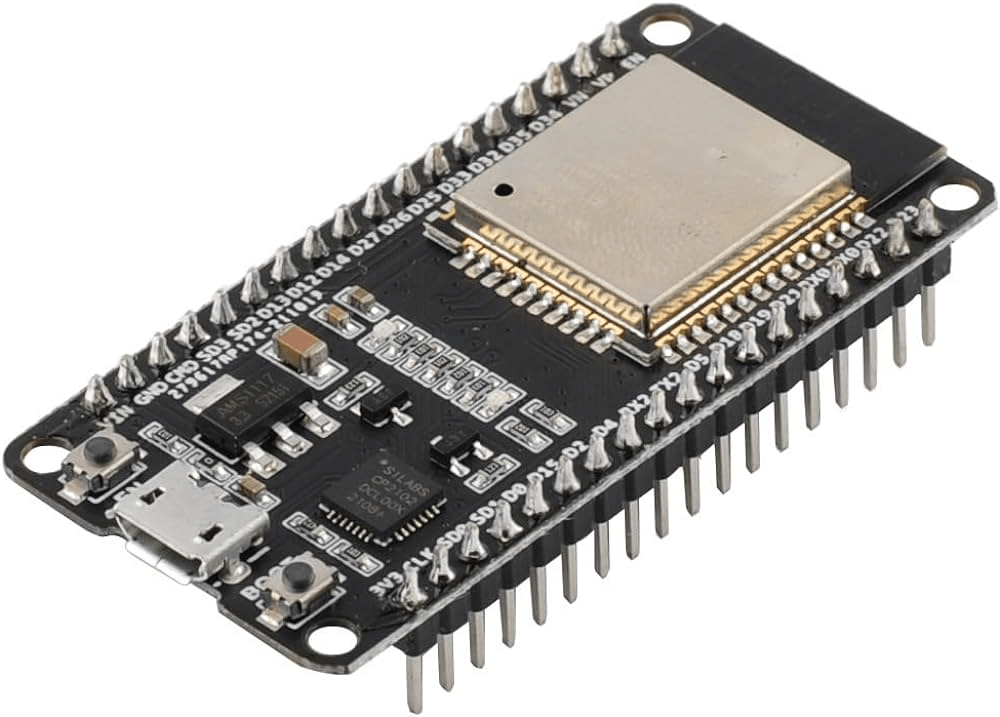
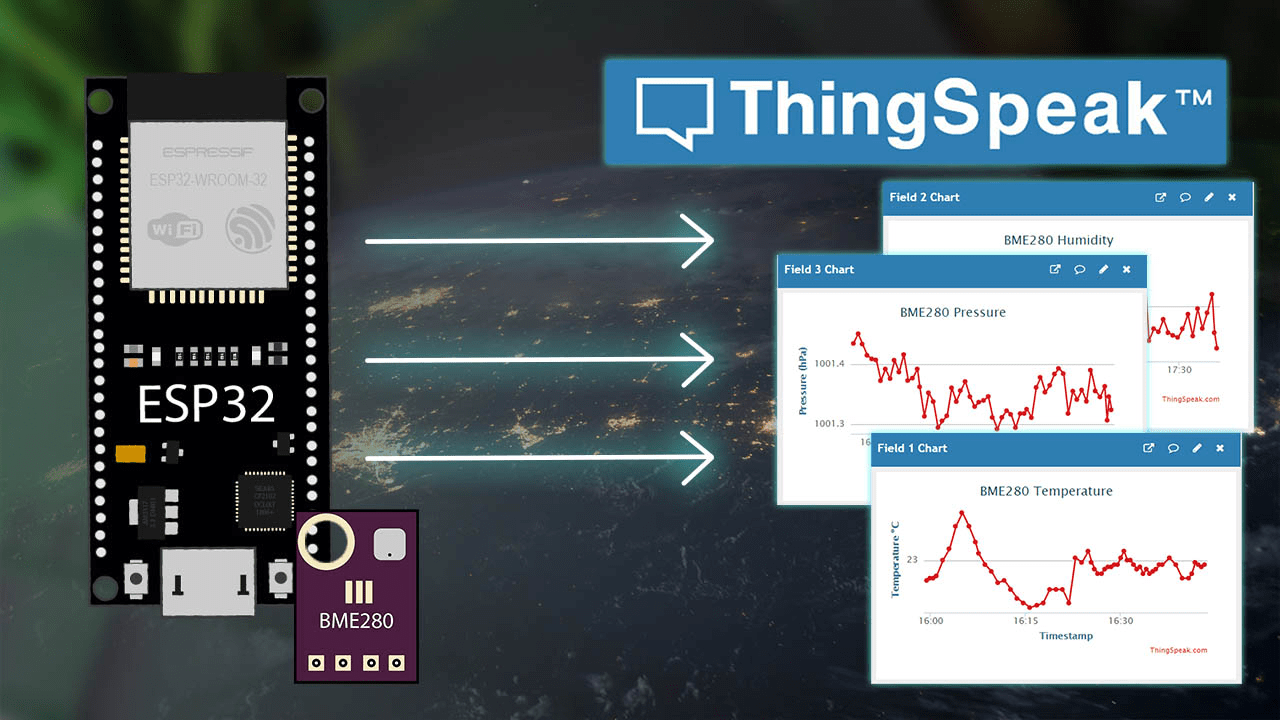
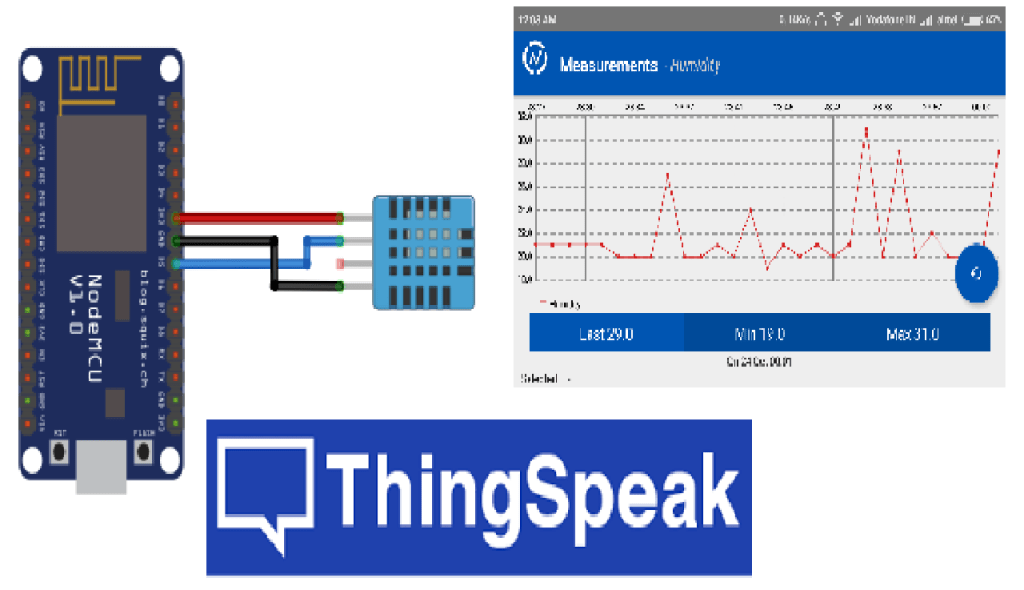
As we already mentioned above, ESP 32 is a microcontroller designed by Espressif Systems. Often, it belongs to the Esp (Espressif System platform) family of power chips used to connect temperature sensors and other devices to ThingSpeak. It works as a mediator or messenger which receives the data, encodes it and then sends it to IoT.
Furthermore, the data is stored, scrutinised and presented in visual form, so that you can use it to develop other IoT applications and see the changes occurring in data.
Without any further delay, let’s see how to connect ThingSpeak with ESP 32. Read till last!
How to Connect ThingSpeak with ESP 32?
While ThingSpeak and ESP 32 are quite a good match, it’s quite a task to connect them. Connecting them involves a variety of steps that must be followed in order to achieve a great connection. Follow the below-written steps one by one.
1. Sign Up for ThingSpeak and Create a Channel
Firstly, you are required to sign up for ThingSpeak. For that, you need to go to ThingSpeak.com. Once you’re logged in and your account is created, navigate to the menu bar.
Click on ‘Create a channel” and create your channel followed by the selection of sections you want to put your data in (such as weather, temperature, etc in a digital diary).
After this, you will get your API key which is essential for authenticating the ESP 32 connection.
2. Install Arduino IDE and ESP 32 Board
Following channel creation, download and install the Arduino IDE from the official website given your operating system (Linux, Windows and macOS). Then, add support for ESP 32 in Arduino IDE by following the steps suggested by the Esperiff Systems.
3. Add a New Sketch in Arduino
Open Arduino and make a new sketch with a relevant file name. Then, make sure to include the separate libraries for HTTP communication and Wi-fi.
4. Set Up Wi-fi
After you create a separate library for wi-fi, you are required to define your wi-fi’s SSID and password in your Arduino sketch. Example code:
const char* ssid = “YourWiFiSSID”;
const char* password = “YourWiFiPassword”;
5. Retrieve and fill ThingSpeak API Key
Now, go back to ThingSpeak.com and log in to your existing account. Go to the channel retrieve the provided API Key and copy that. Once done, go back to the sketch and encode the ThingSpeak server URL and API key to process the setup further.
6. Connect the Wi-fi with ESP 32
Go to the ‘Set Up’ function of your sketch. Connect the ESP 32 with the wi-fi network you set up with the provided credentials.
7. Send the data to ThingSpeak
Here comes the main step – sending data. Go to the ‘loop ()’ function of the sketch. Read sensor data or whatever kind of data you want to send. Then, use the HTTP POST request to send it to ThingSpeak.
8. Connect the ESP 32 to the Computer
Connect your ESP32 board to your computer via USB. Select the correct board and port in Arduino IDE under Tools > Board and Tools > Port. Upload the sketch to your ESP32 board and open the Serial Monitor to view the output.
How to connect ThingSpeak with ESP 32? I hope you have got your answer now. This is the basic way of connecting them. If you have any special requirements, you may need to modify the sketch accordingly.
Summary
Connecting ThingSpeak with an ESP 32 microcontroller is quite a simple yet essential process which must be handled with delicacy and accuracy. It is very crucial for developing IoT applications. However, the question arises in people’s minds – how to connect ThingSpeak with ESP 32?
Well, the answer is really simple. You just have to follow eight steps and there you will have ESP 32 connected with ThingSpeak and data sent for your benefit. First, you need to set up a ThingSpeak account and create a channel to store and analyse data. It’s like your digital book where you can keep records and track of data collected.
Secondly, install Arduino IDE from the official website and add ESP 32 board support. Then create a new sketch in Arduino and set up wi-fi putting the credentials. Make sure you create a separate library for this and HTTP communication. Now, go back to your ThingSpeak account retrieve the API key and copy that.
Use the key to authenticate your connection and once connected, use HTTP POST request to send the data to ThingSpeak. And we’re done. That’s all we have to do to collect the data from other IoT applications of websites. I hope you have understood it all. On that note, let’s end this here! Stay updated for upcoming pieces!