10 Drone Photography Tips for Stunning Aerial Shots

Aerial photography looks effortless in a finished reel, but the gap between a flat, forgettable clip and a shot that stops people mid-scroll almost never comes down to the drone itself — it comes down to a handful of habits that any pilot can learn regardless of which camera drone they own. The single biggest one is shooting during golden hour, the window shortly after sunrise or before sunset when light is warm, soft, and directional. Harsh midday sun flattens landscapes and blows out highlights on reflective surfaces like water or glass roofing, while golden hour light adds long shadows and depth that make even simple scenes look considerably more dramatic.
Composition matters just as much from the air as it does on the ground, and the same rule of thirds that applies to ground photography applies here too — resist the urge to centre every subject and instead let roads, rivers, or tree lines fall along the intersecting third-lines of the frame. Symmetry, when it's available, is one of the most effective aerial compositions precisely because it's a perspective ground-level photography rarely offers: a straight-down shot of a symmetrical building, a roundabout, or a field pattern reads as striking specifically because human eyes almost never see the world that way.
Altitude and angle deserve more deliberate thought than most beginners give them. Flying at a single fixed height for an entire shoot is the fastest way to produce visually repetitive footage — a scene that looks unremarkable from 100 metres can look completely different from 30 metres with a slight forward tilt on the gimbal. Reverse the drone's typical straight-down bird's-eye view for a low, near-horizontal angle occasionally, since that unexpected combination of drone stability with a ground-level perspective produces some of the most distinctive shots in a portfolio.
Movement is where camera drones genuinely outperform any handheld or tripod setup, and slow, deliberate movement is almost always more cinematic than fast movement. A gentle forward push toward a subject, a slow orbit around a point of interest, or a smooth reveal that rises up and over a ridge to unveil a landscape behind it — these all read as intentional and polished, while quick, jerky repositioning reads as amateur footage regardless of how sharp the sensor is. Most flight controllers offer a 'cinematic' or reduced-sensitivity flight mode specifically for this purpose, and it is worth using it deliberately rather than flying photography shots on the same aggressive rates used for general flying.
Finally, plan the shot before takeoff rather than improvising in the air. Check wind conditions, since even a moderate breeze meaningfully affects both flight stability and battery consumption during hover-heavy photography sessions. Scout the location on a map beforehand to identify the actual points of interest worth flying toward, and always keep a buffer of battery in reserve for the flight back rather than chasing one more shot on a battery that's already running low. None of these habits require expensive equipment — they simply require treating each flight as a deliberate shoot rather than a spontaneous one, which is consistently the difference between forgettable aerial clips and the ones that actually get shared.
Written by Harshit Raj
Keep Reading
 Racing
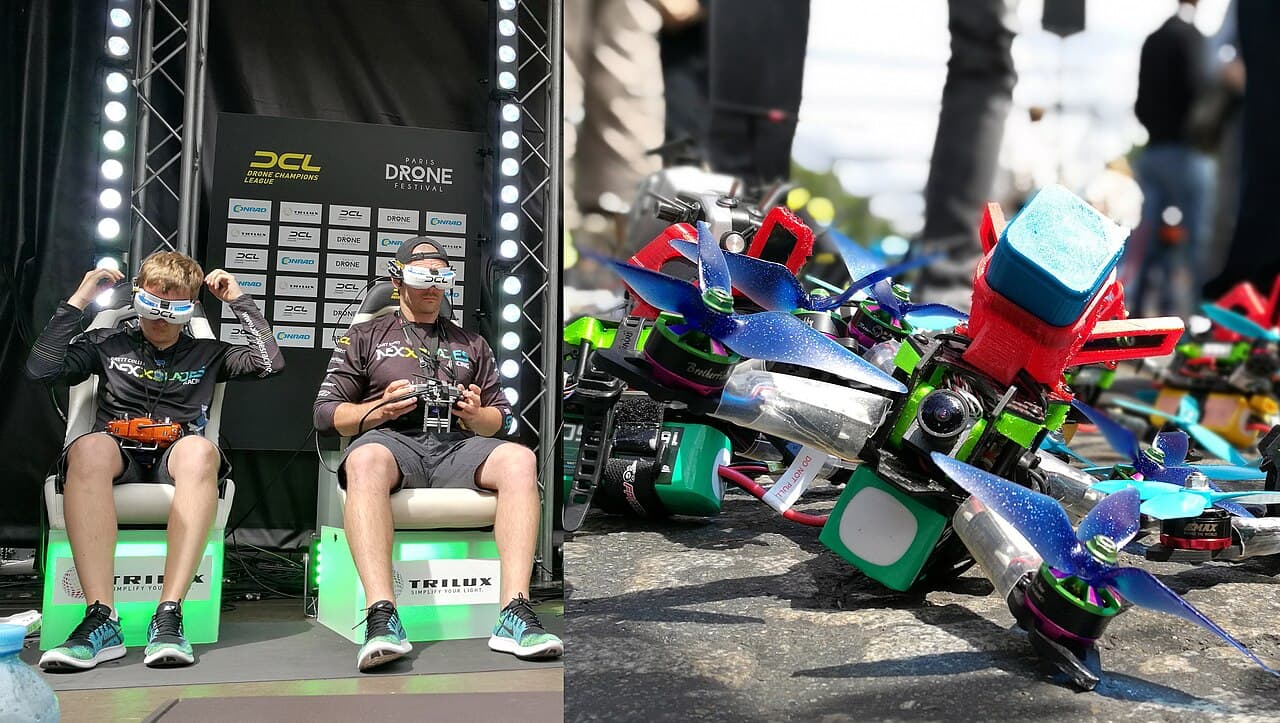
The Rise of FPV Drone Racing in India
From garage hobby to televised sport — how first-person-view racing found a home in Indian cities and college campuses.
 Buying Guide
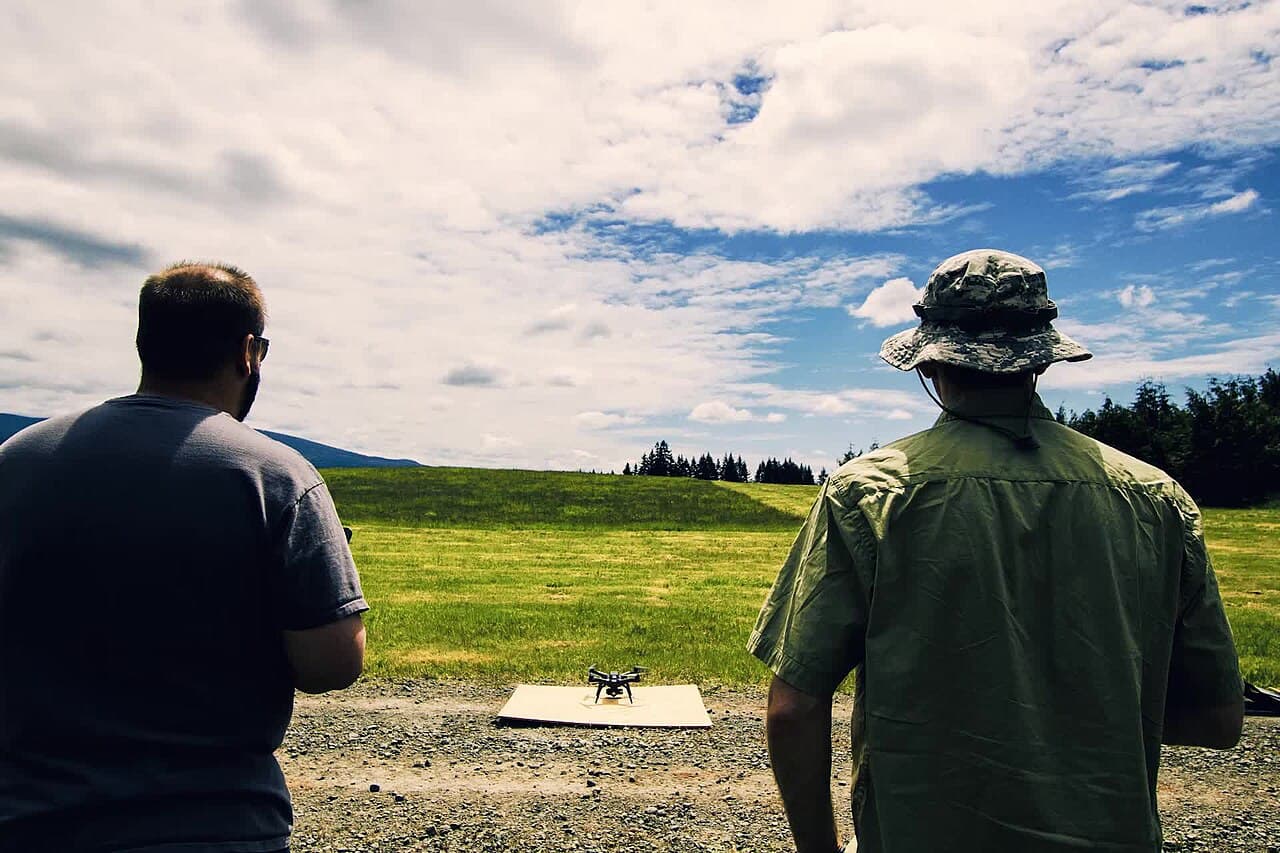
Choosing Your First Beginner Drone: A Complete Buying Guide
Camera drone, mini whoop, or a ready-to-fly kit? A practical framework for picking a first drone without wasting money on the wrong one.
 Tech
TechUnderstanding Flight Controllers: PID Tuning Basics Explained
What a flight controller actually does, and why three letters — P, I, and D — decide whether your drone flies smooth or oscillates itself out of the sky.